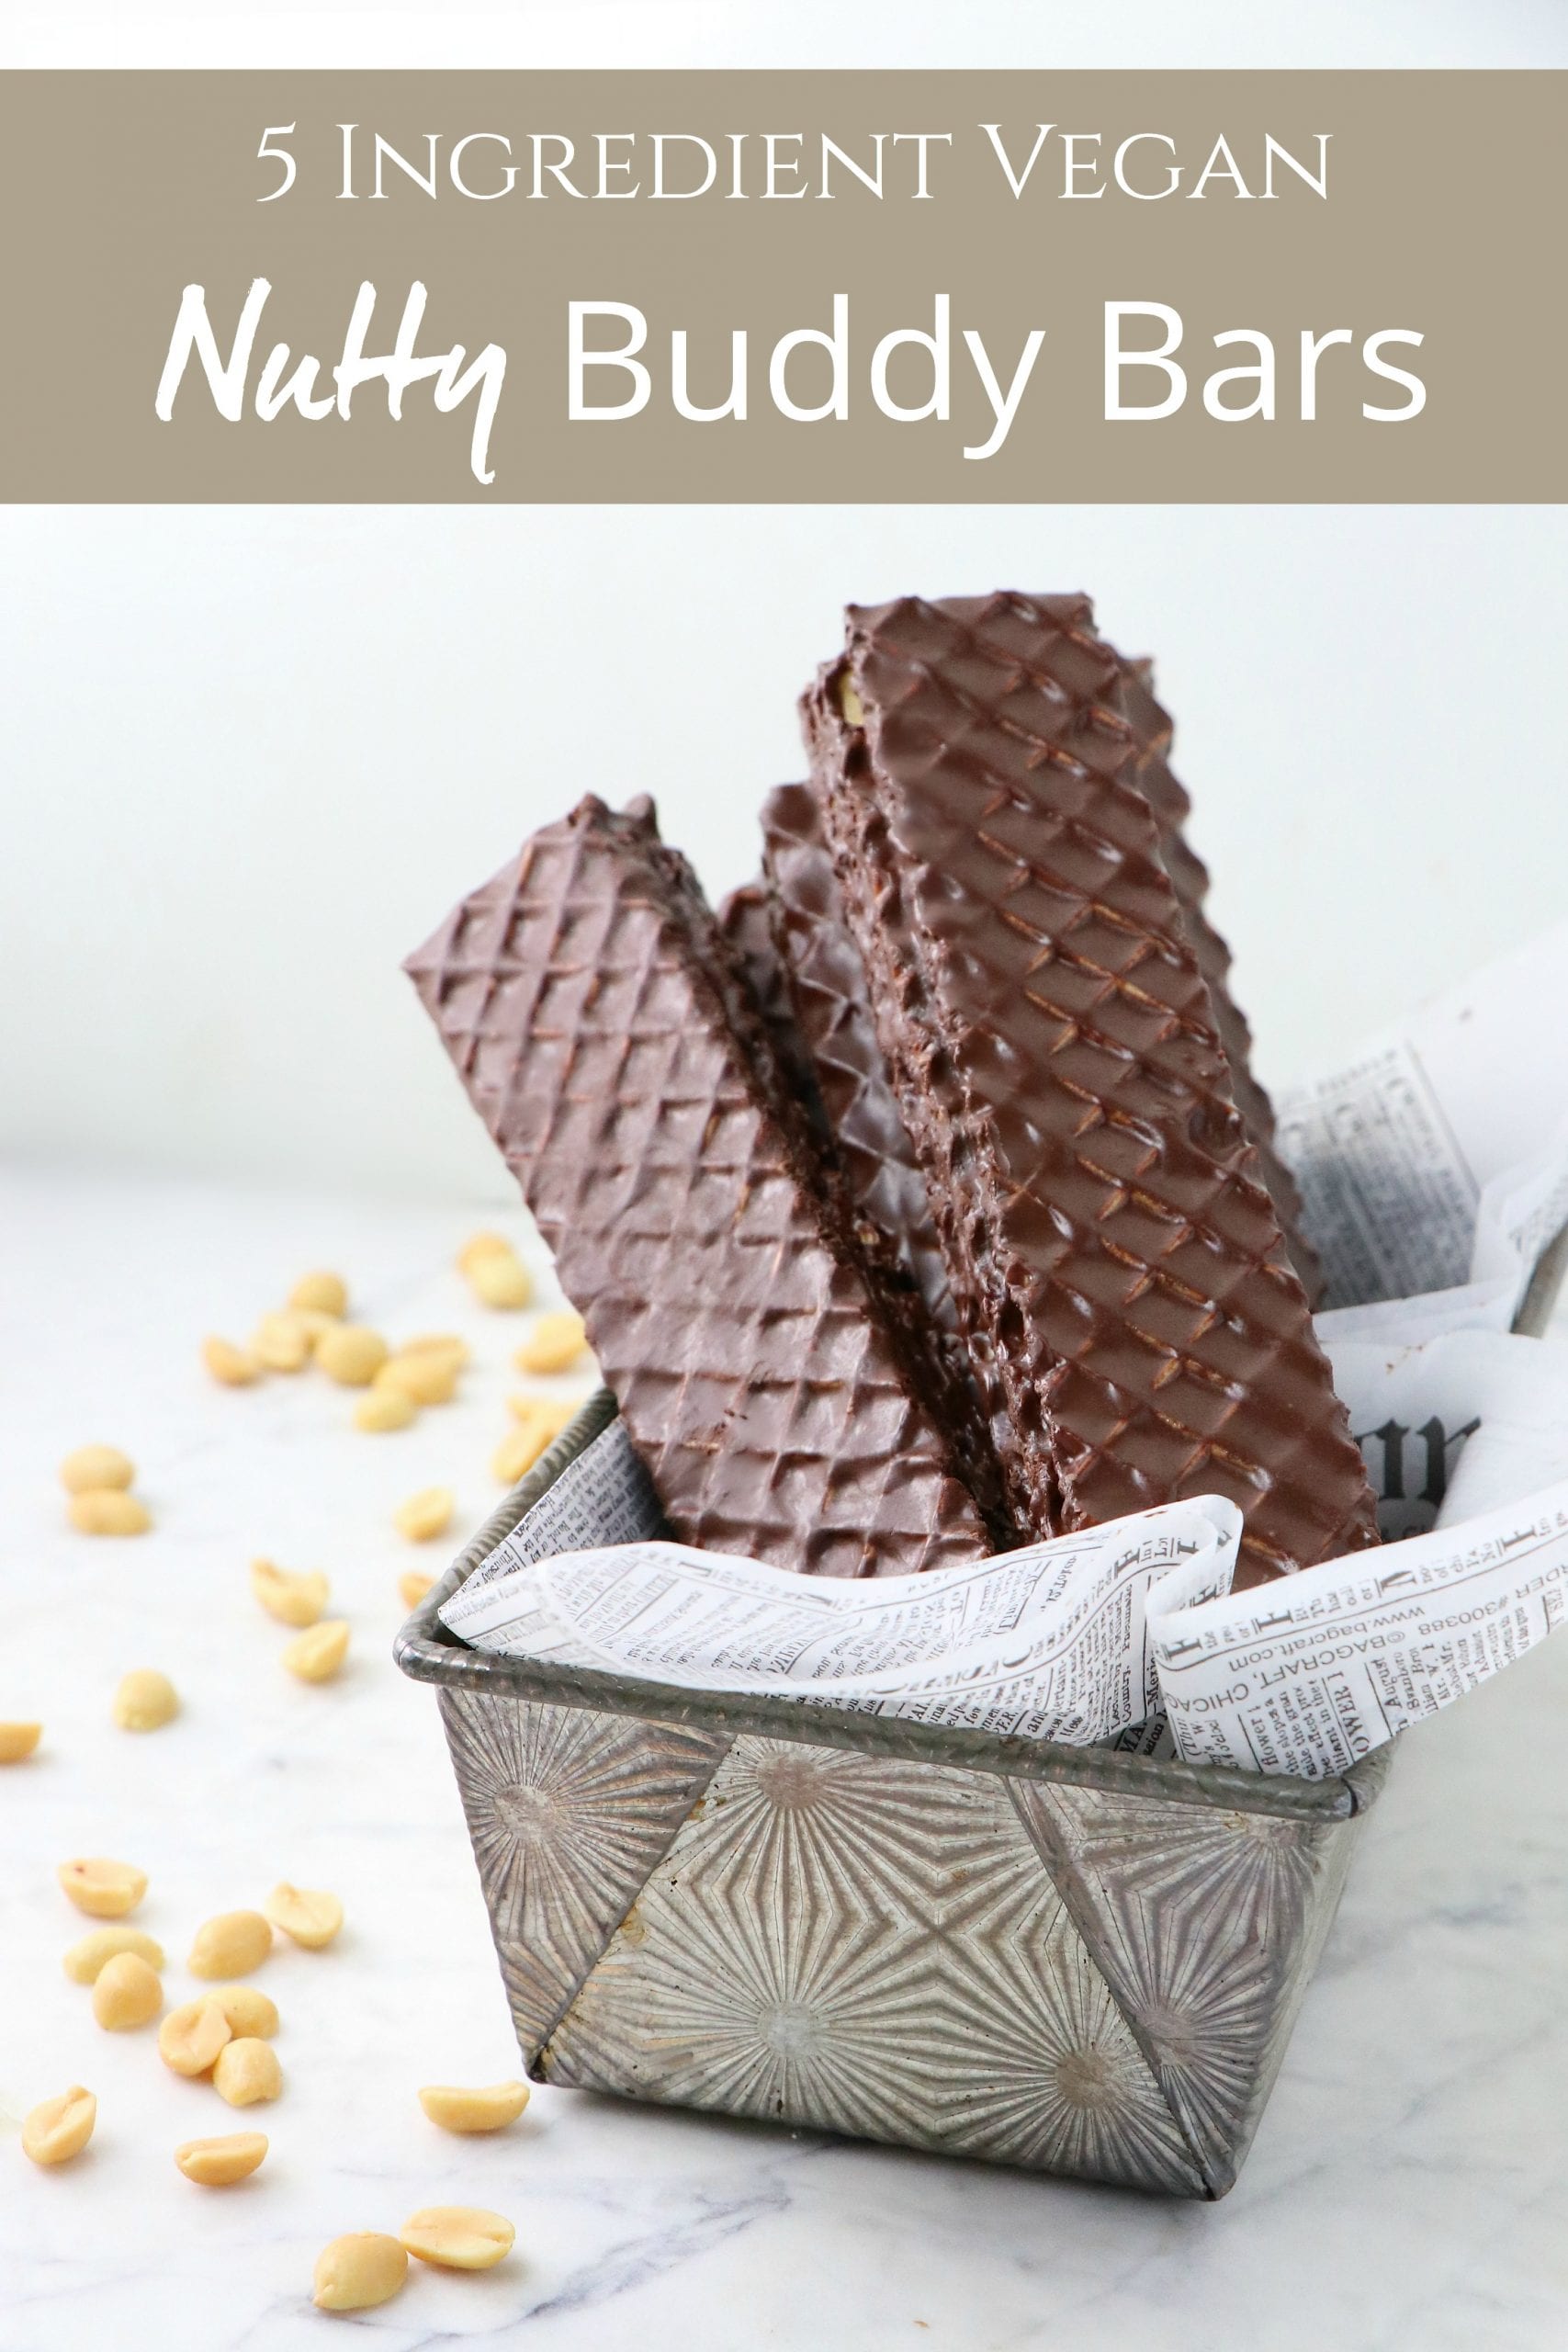
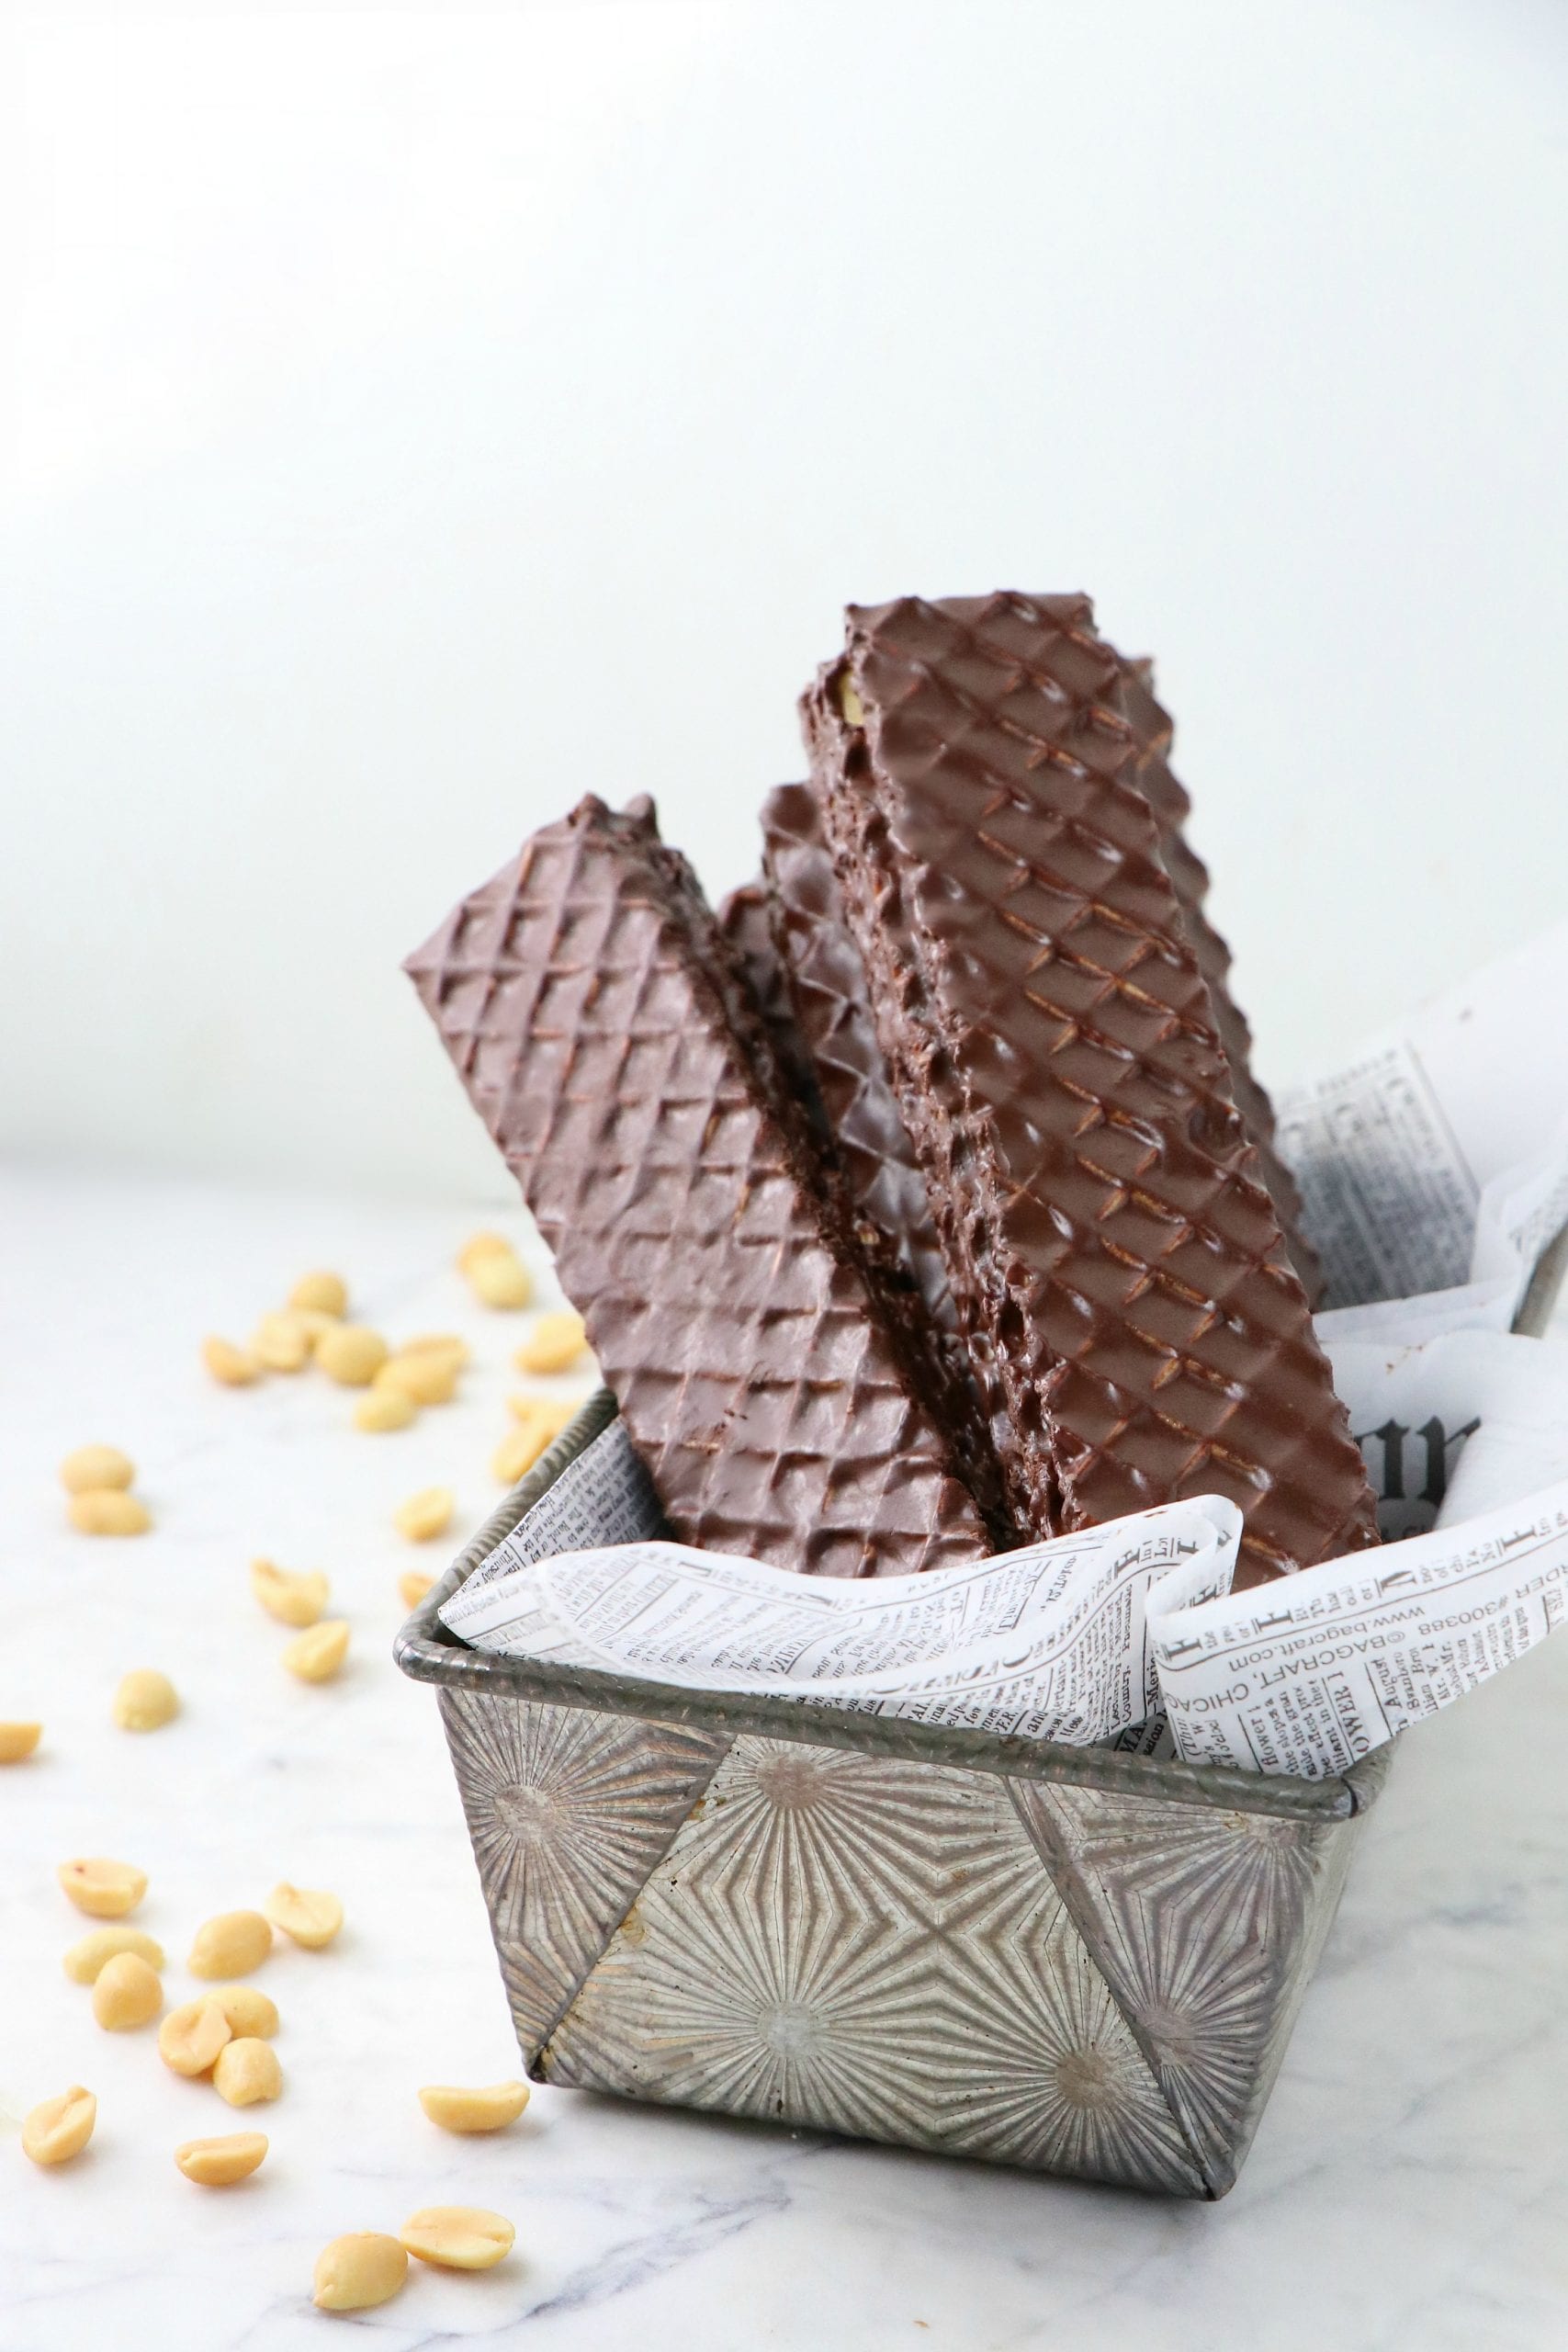
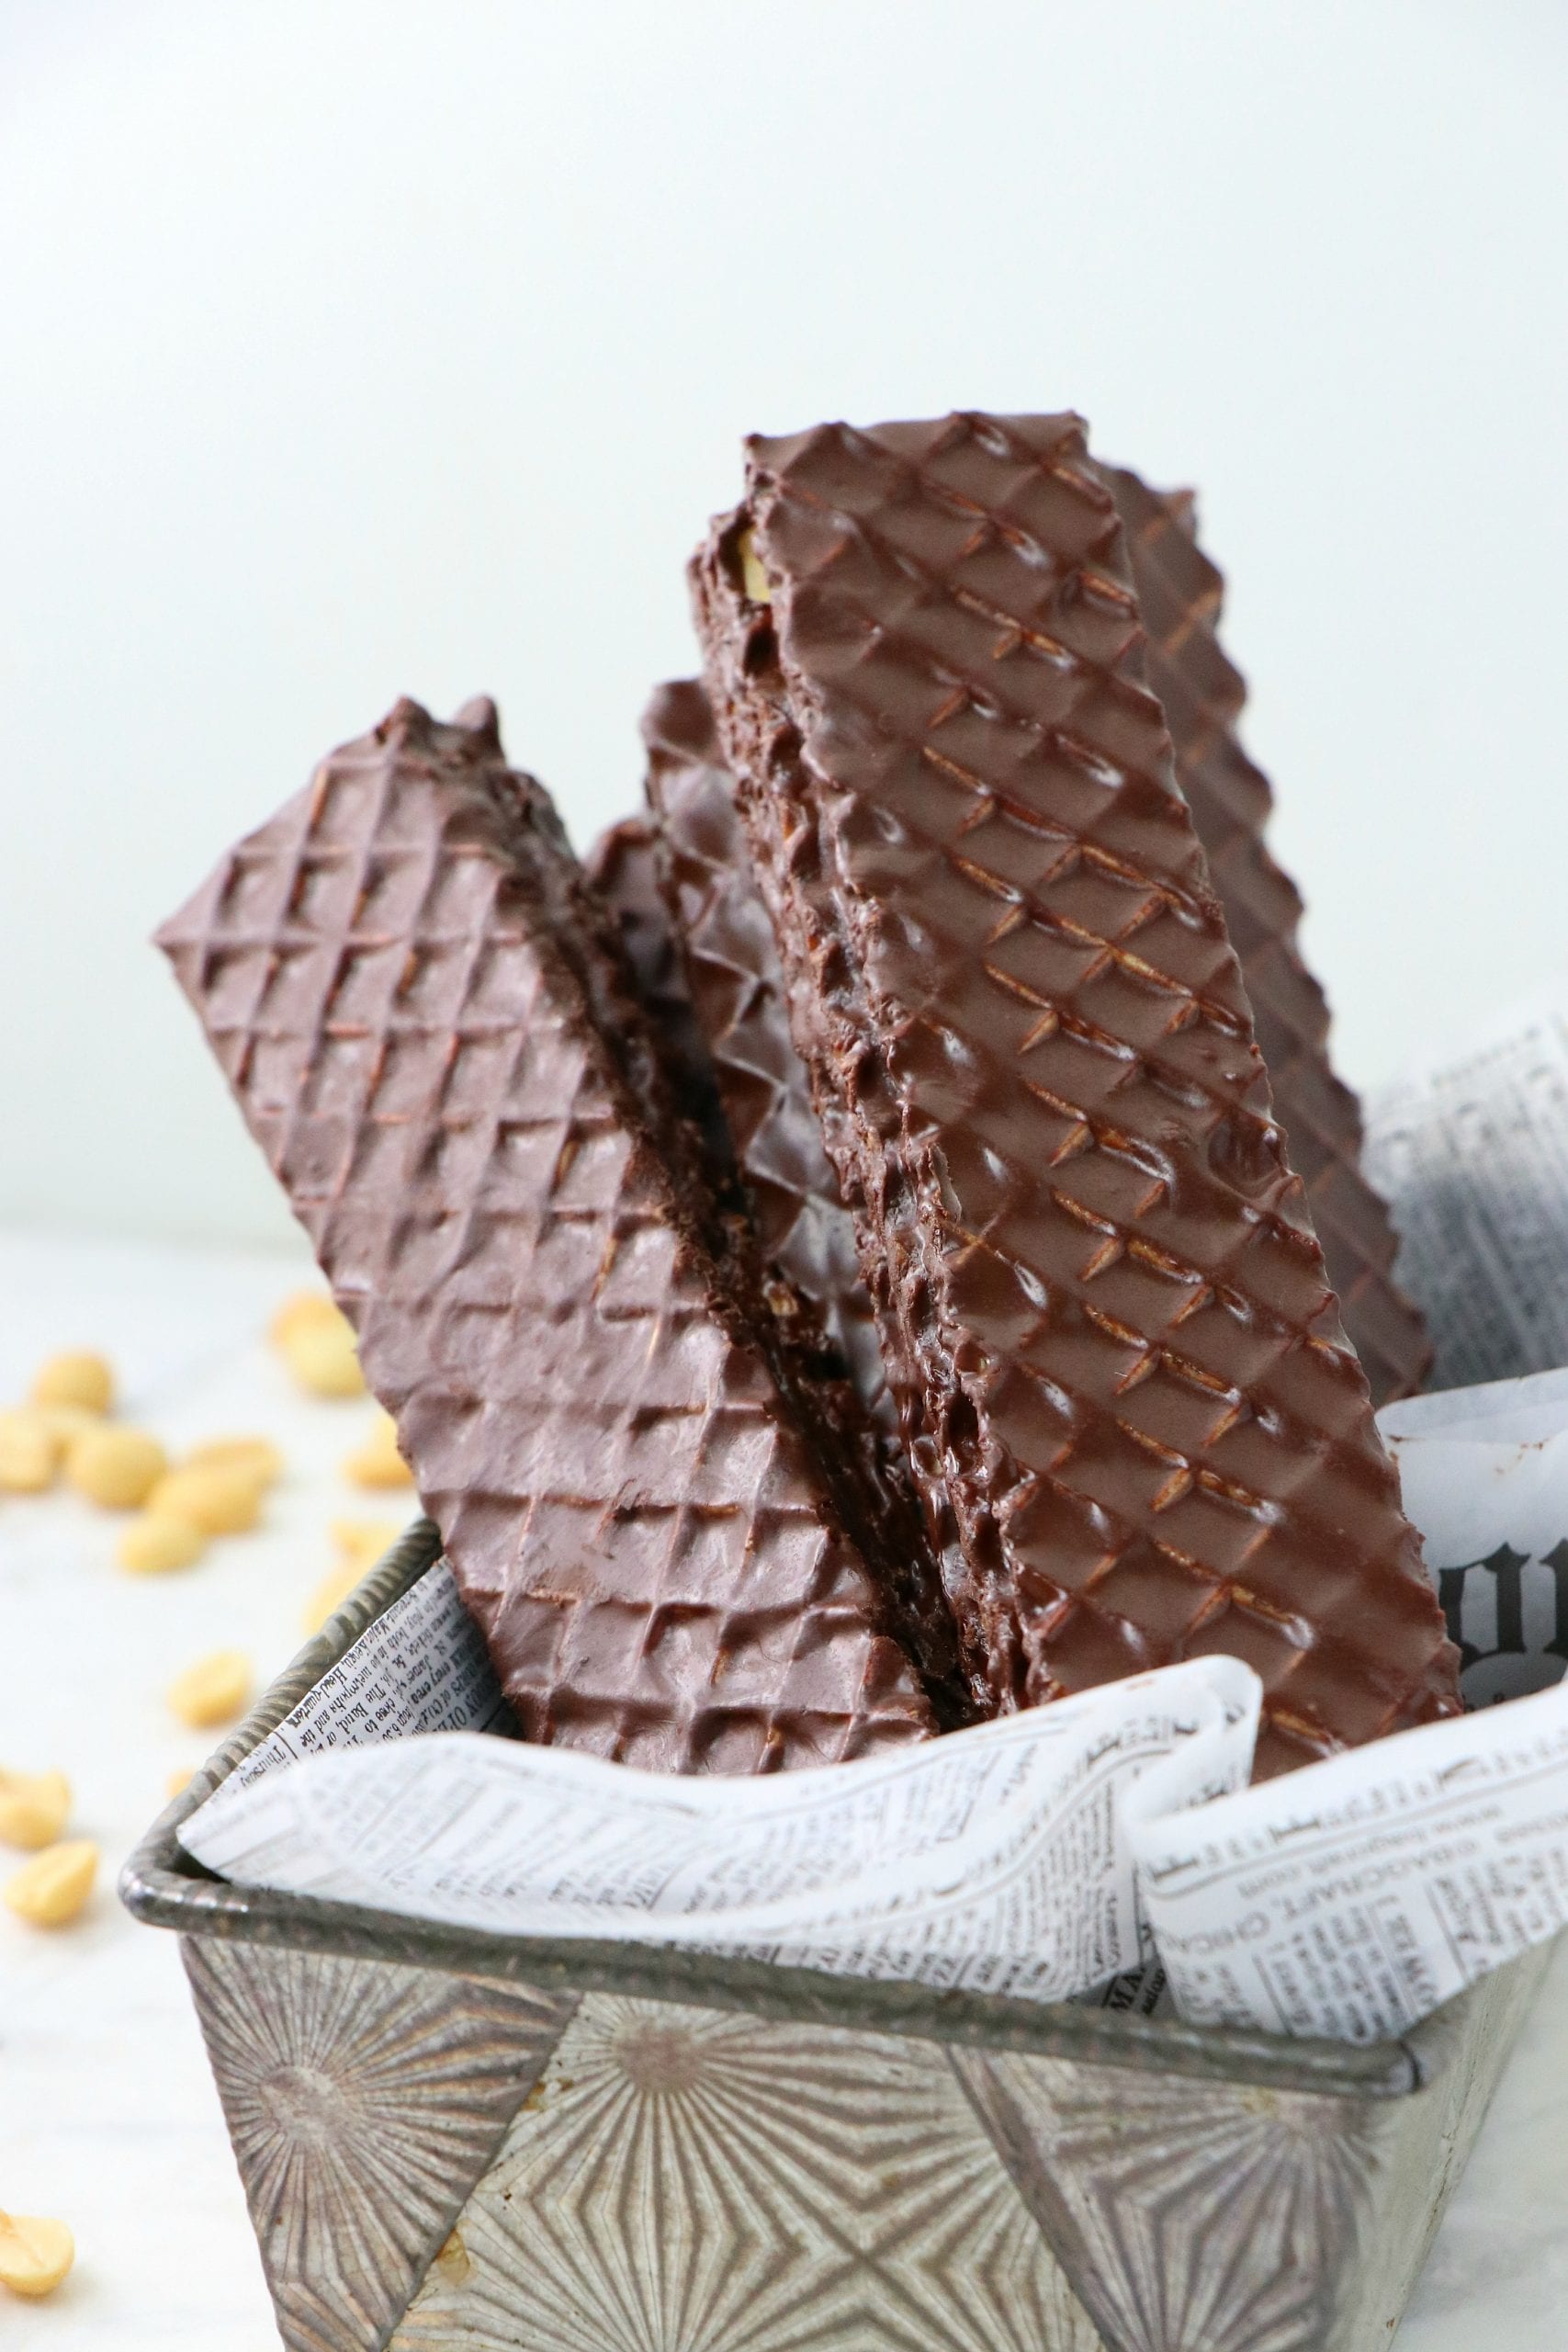
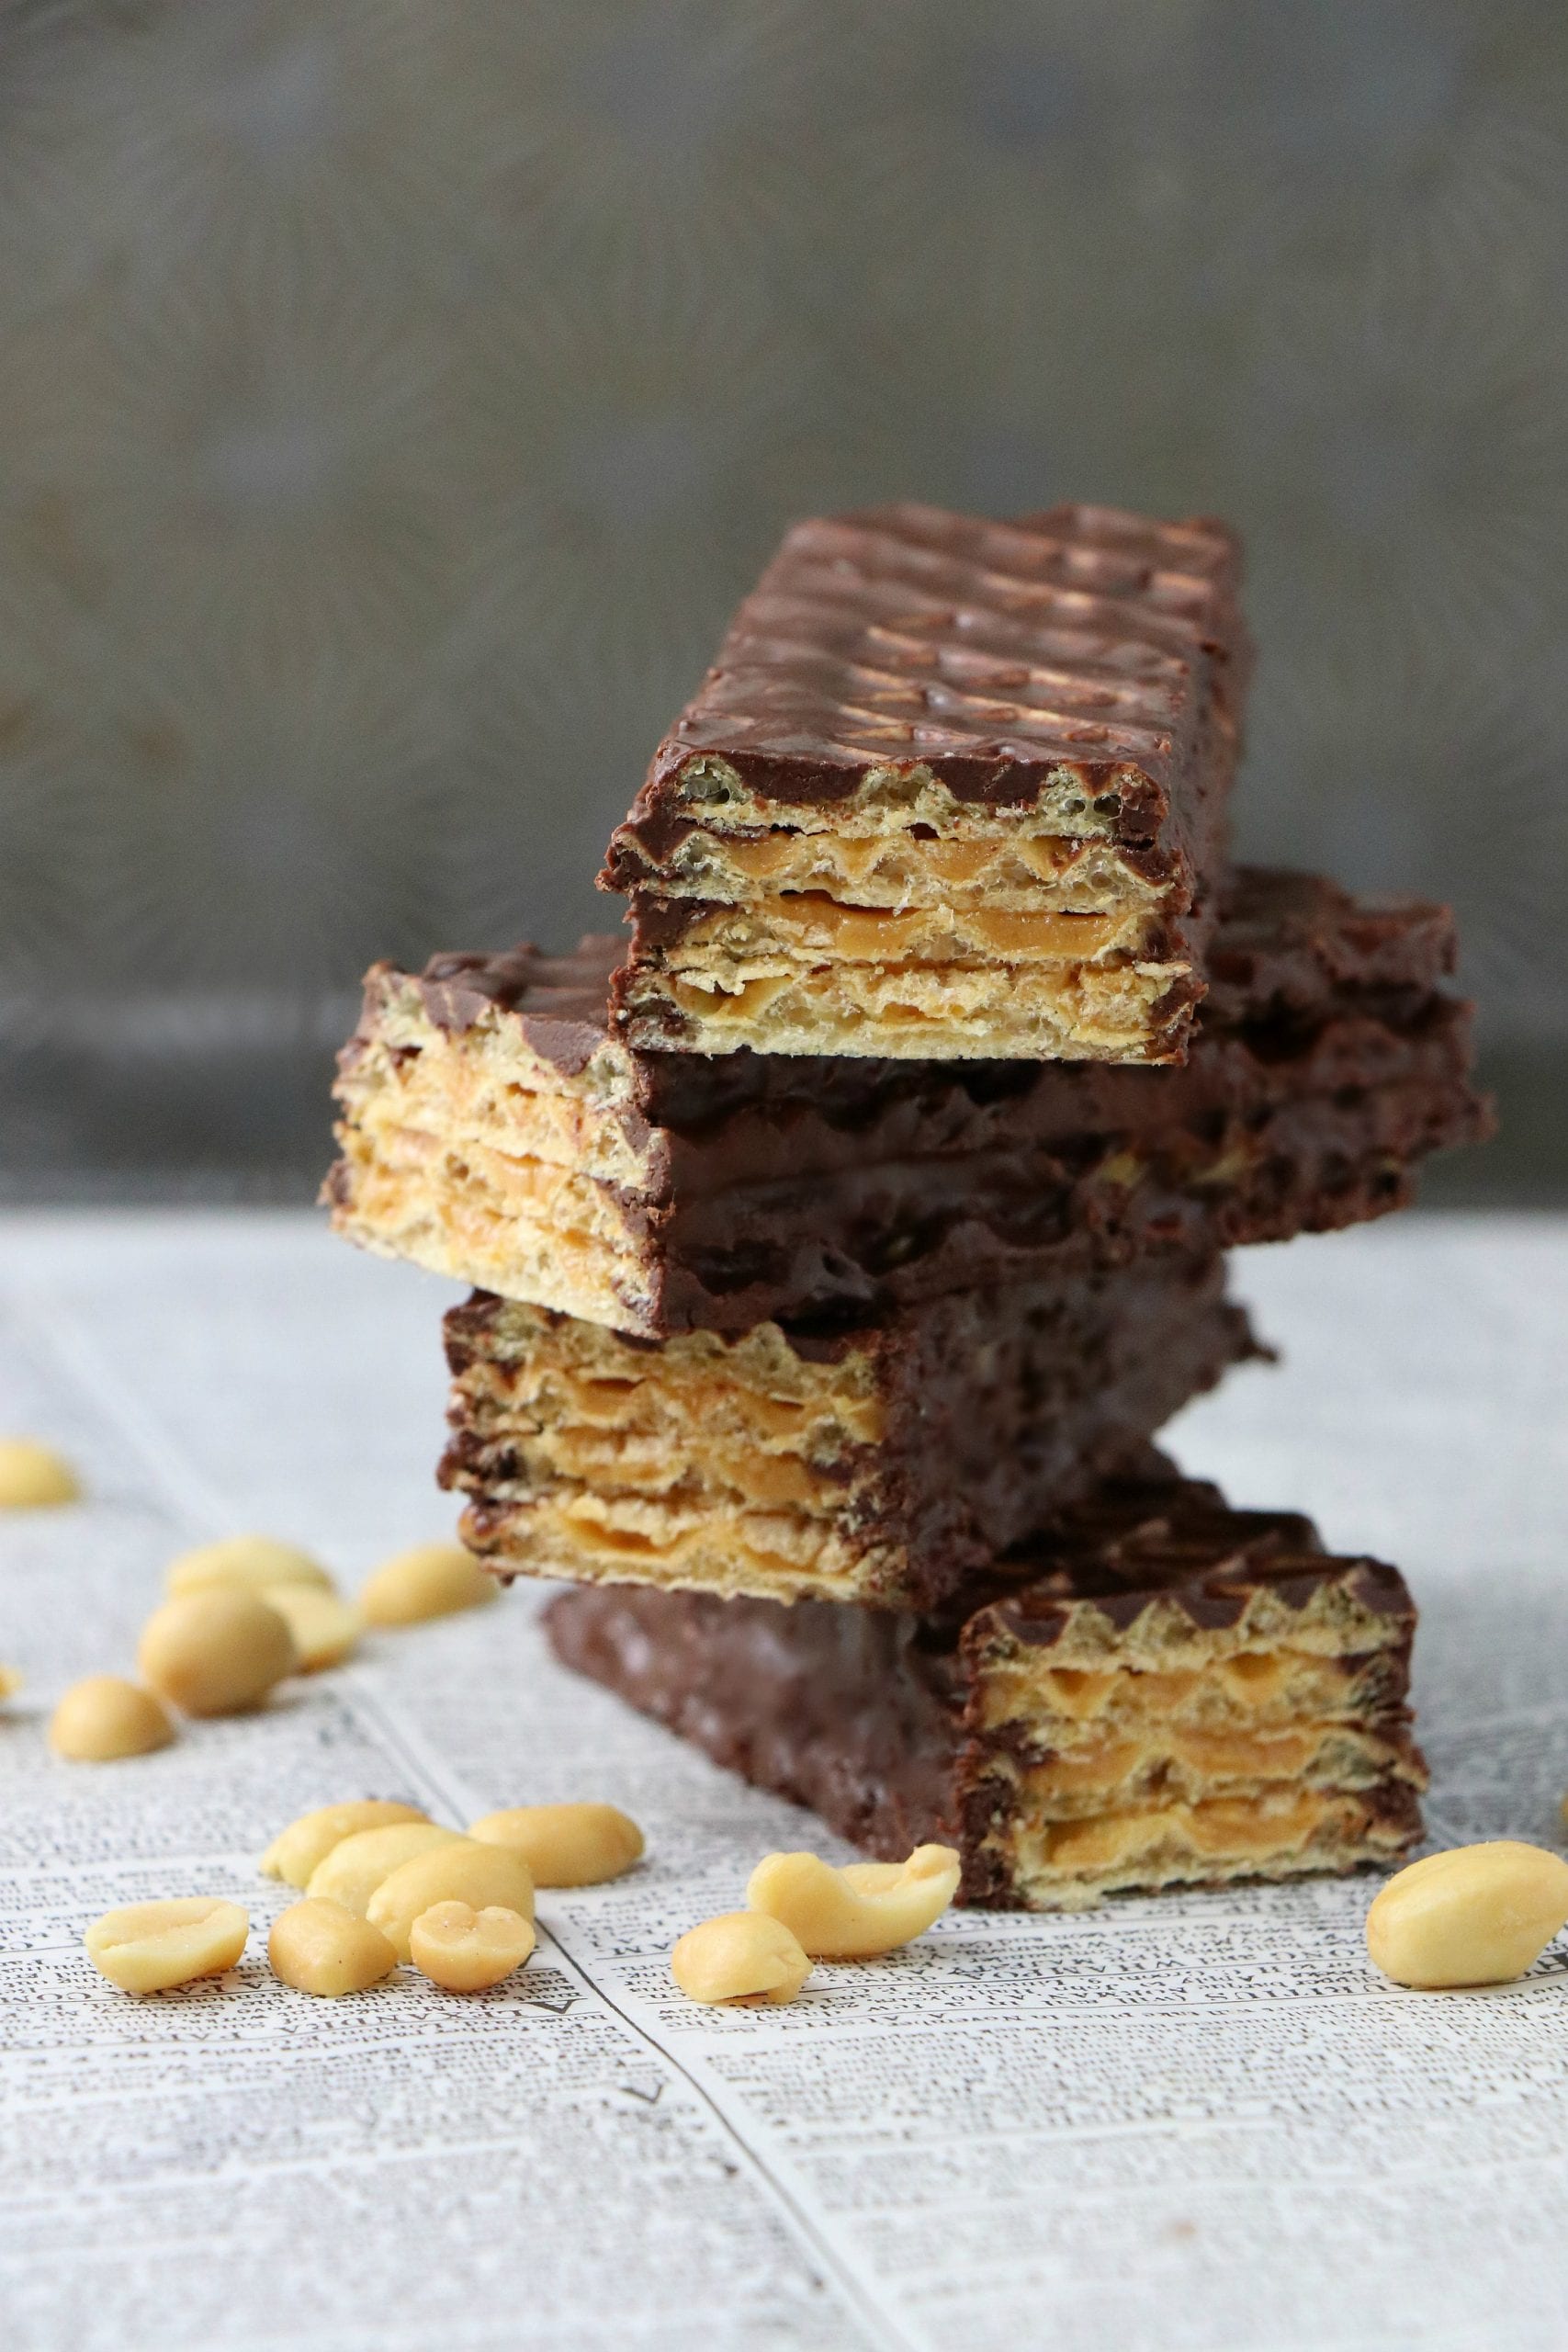
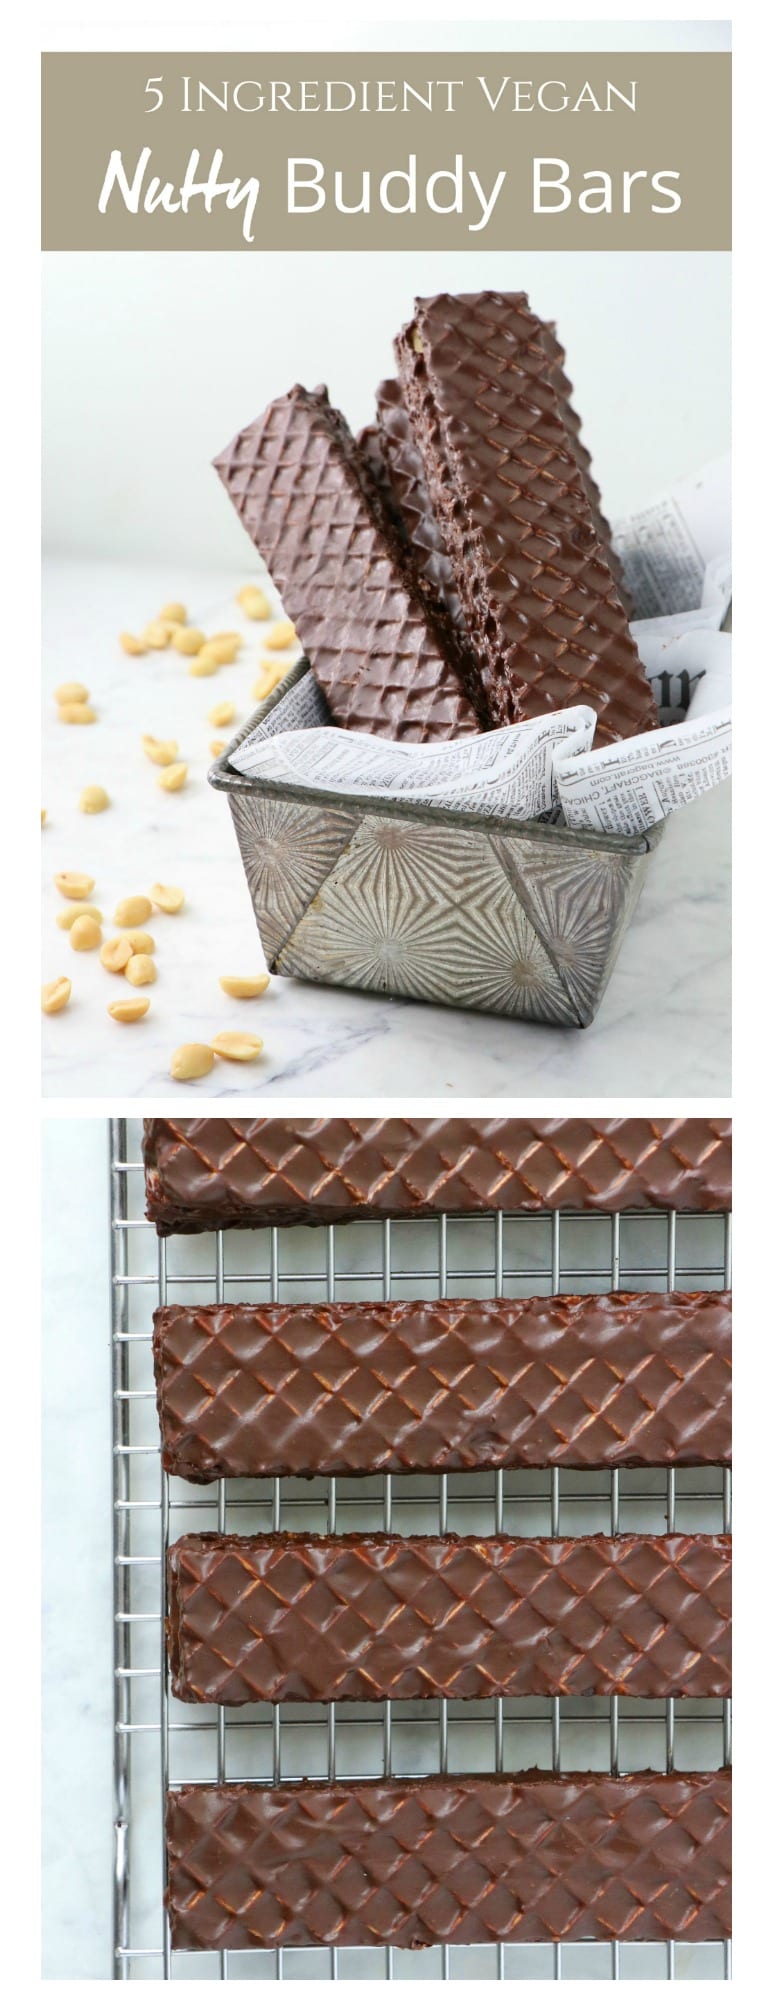
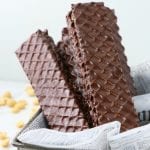
Vegan Nutty Buddy Bars
Hello & Happy Friday
Since 2020 started I’ve been going thru my recipe bucket list! While many have a life bucket list (myself included), I also have a foodie one lol. Believe it or not, even 1000 recipes later, there is always a new recipe to explore. However, sometimes I procrastinate, because there are countless vegan concepts that just come out as a big flop. (true story)
That being said, years ago when I first started delving into vegan cuisine, there were so many recipe that had never been done. Today there are so many vegan options that there is always a vegan alternative to just about anything, except vegan Nutty Buddy Bars!! lol
If you grew up during the late 90’s, there were some food products that were just iconic. One of them, was these Little Debbie Nutty Buddy Bars. Were they chock full of underwhelming ingredients? Yes. Do we have to still be subjected to reach for this product if a craving strikes?! After today, NO.
What’s great about this concept, is that you can easily replicate it at home, chop the ingredient list in half, let the sugar content literally be 2tbsp, and you have yourself a game changing modern vegan Nutty Buddy Bar!!
I’m in love with this recipe for countless reasons. One that it’s nostalgic, crispy, crunchy, easy, affordable, you can easily make it in bulk, its low sugar, filling, has aesthetic appeal, looks just like the store bough option, you can modify the size of them, great for entertaining, you can find the sheets on Amazon, great for any season, you can freeze them, and even add them to ice cream!
If you long for the nostalgic bar, or simply love fresh modern vegan recipes, you have to try these new 5 Ingredient Vegan Nutty Bars!
Why this recipe is great
Quick
Easy
Affordable
Low sugar
5 ingredients
Great for entertaining
Can be frozen
Vegan Nutty Buddy Bars
- Total Time: 16 minutes
- Yield: 6 bars 1x
Ingredients
Filling:
- 2/3 cup peanut butter
- 2/3 cup vegan butter
- 2 tablespoons maple syrup
- 1 teaspoons almond or vanilla extract (optional)
Coating:
- 1 1/2 cups Stevia sweetened Dark Chocolate Chips
- 1 tablespoon coconut oil plus more as needed
Instructions
- Preheat the oven to 350 degrees
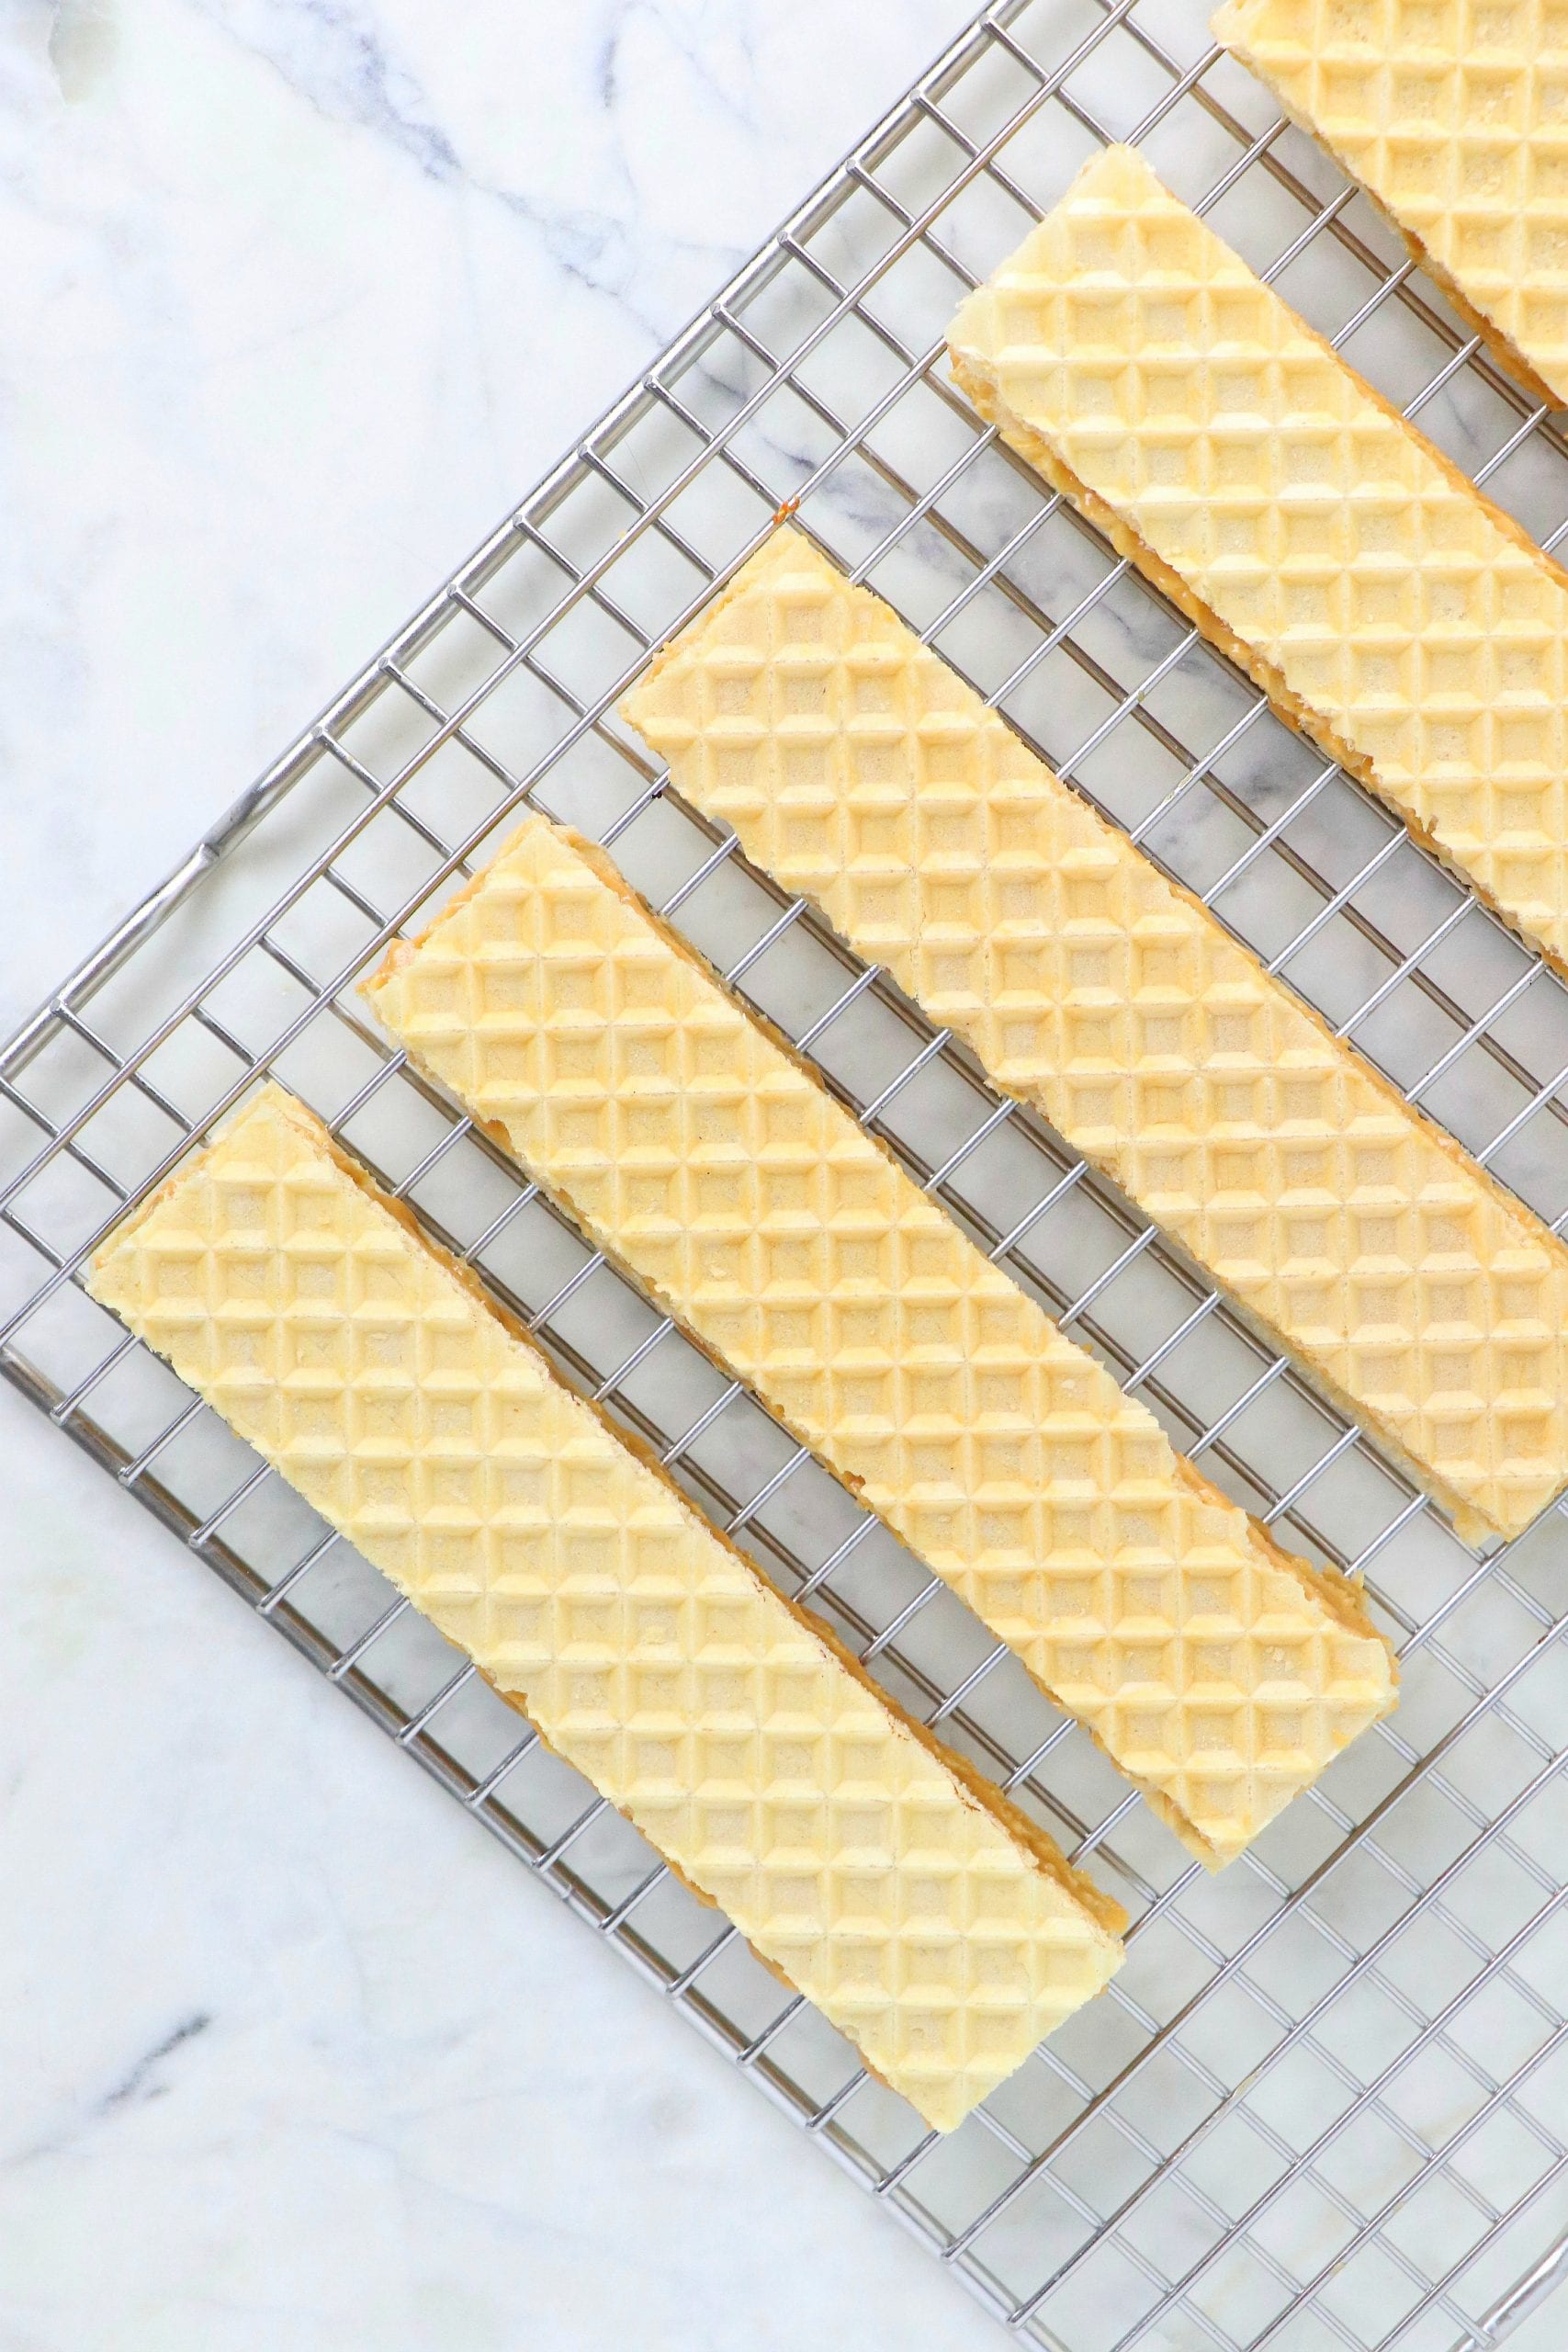
- Carefully cut the wafer sheets into 1 1/2 inch wide strips. I trimmed off the edges a lil and could get about 6 strips from each.
- Prepare a pan with parchment paper.
- Lay the strips down, top with an additional piece of parchment paper and another pan to keep them flat throughout baking.
- Bake in the oven for 10 minutes or until lightly browned. Once done remove wafers and set aside.
- In a standing mixer or by hand, cream the vegan butter and peanut butter until smooth.
- Add the maple syrup and optional extract, and continue to mix until combined. If you want the filling to be sweeter add an additional tbsp of maple syrup.
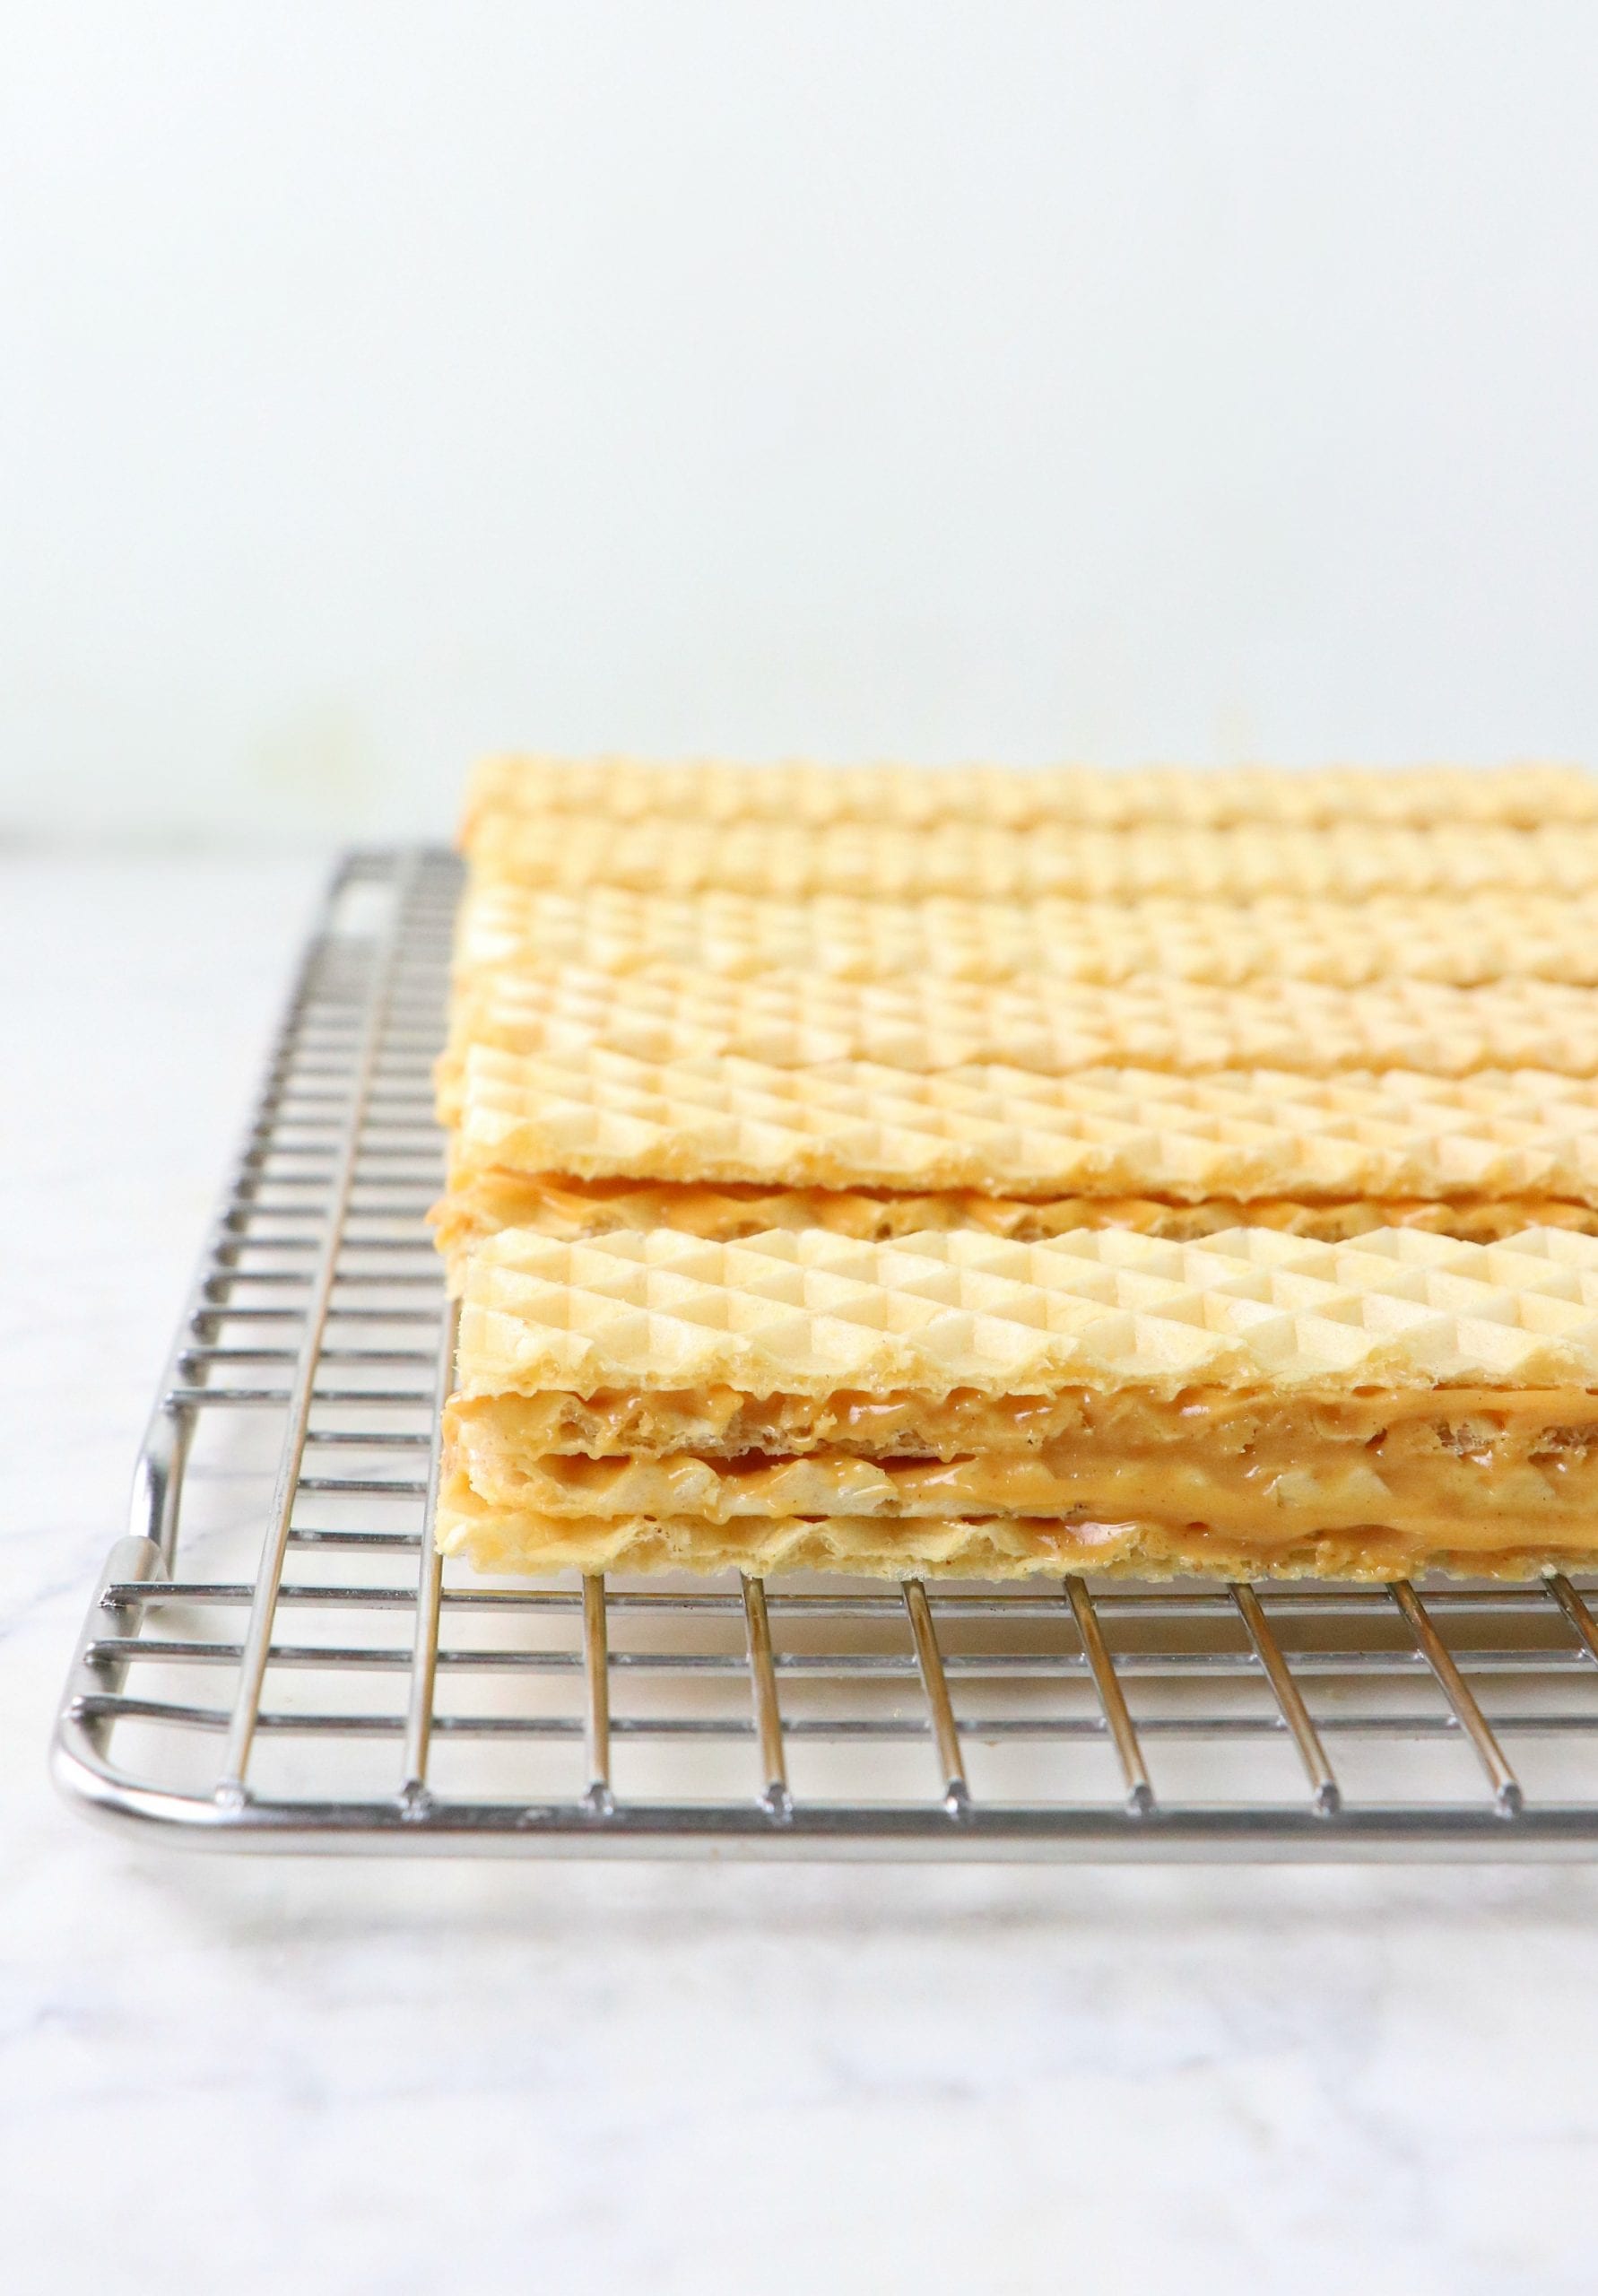
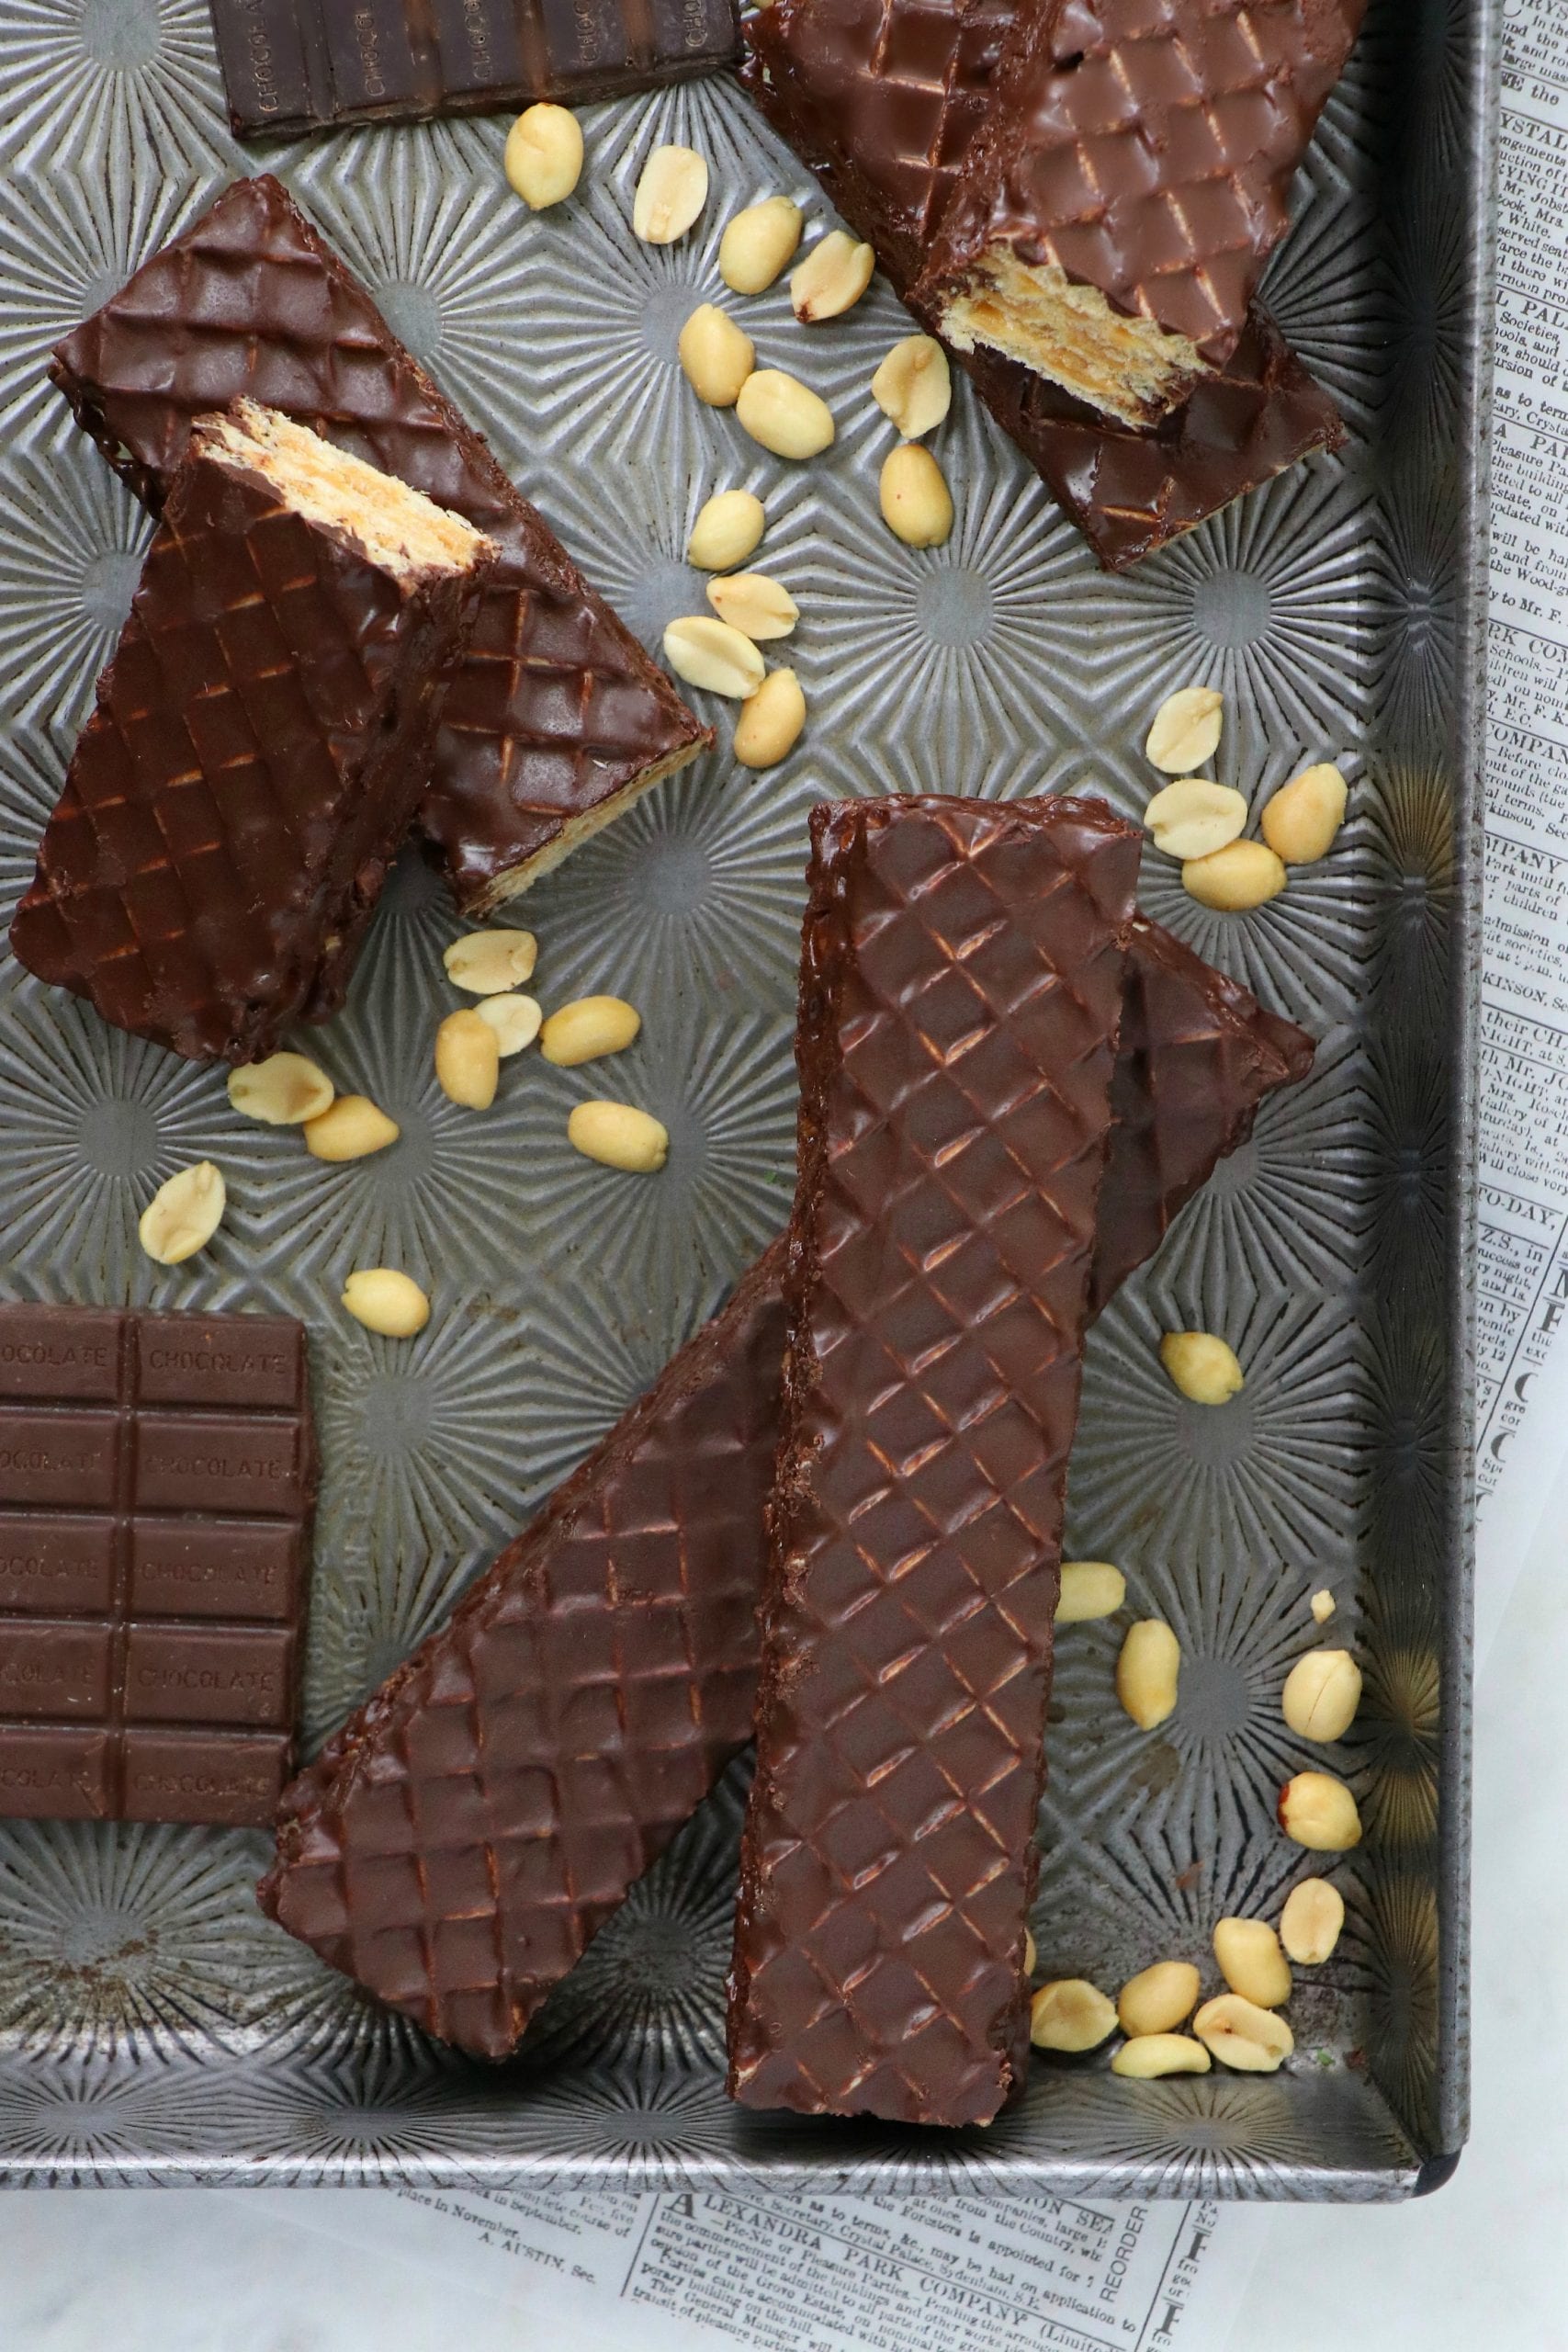
- With a knife or spoon, spread the peanut butter mixture over wafers and stack them on top of each other to create the bar.
- I did 3 strips coated in the mixture, then a 4 without to cover the top.
- Repeat until all the strips are used. I got about 6 bars with 2 1/2 wafer sheets.
- In a microwave melt the chocolate chips and coconut oil for 1 minute, stopping to stir every 15 seconds to prevent burning.
- Heat until smooth. If the mixture remains too thick, simply add additional coconut oil 1 tsp at a time.
- Lay parchment paper in a pan, placing a cooling rack on top.
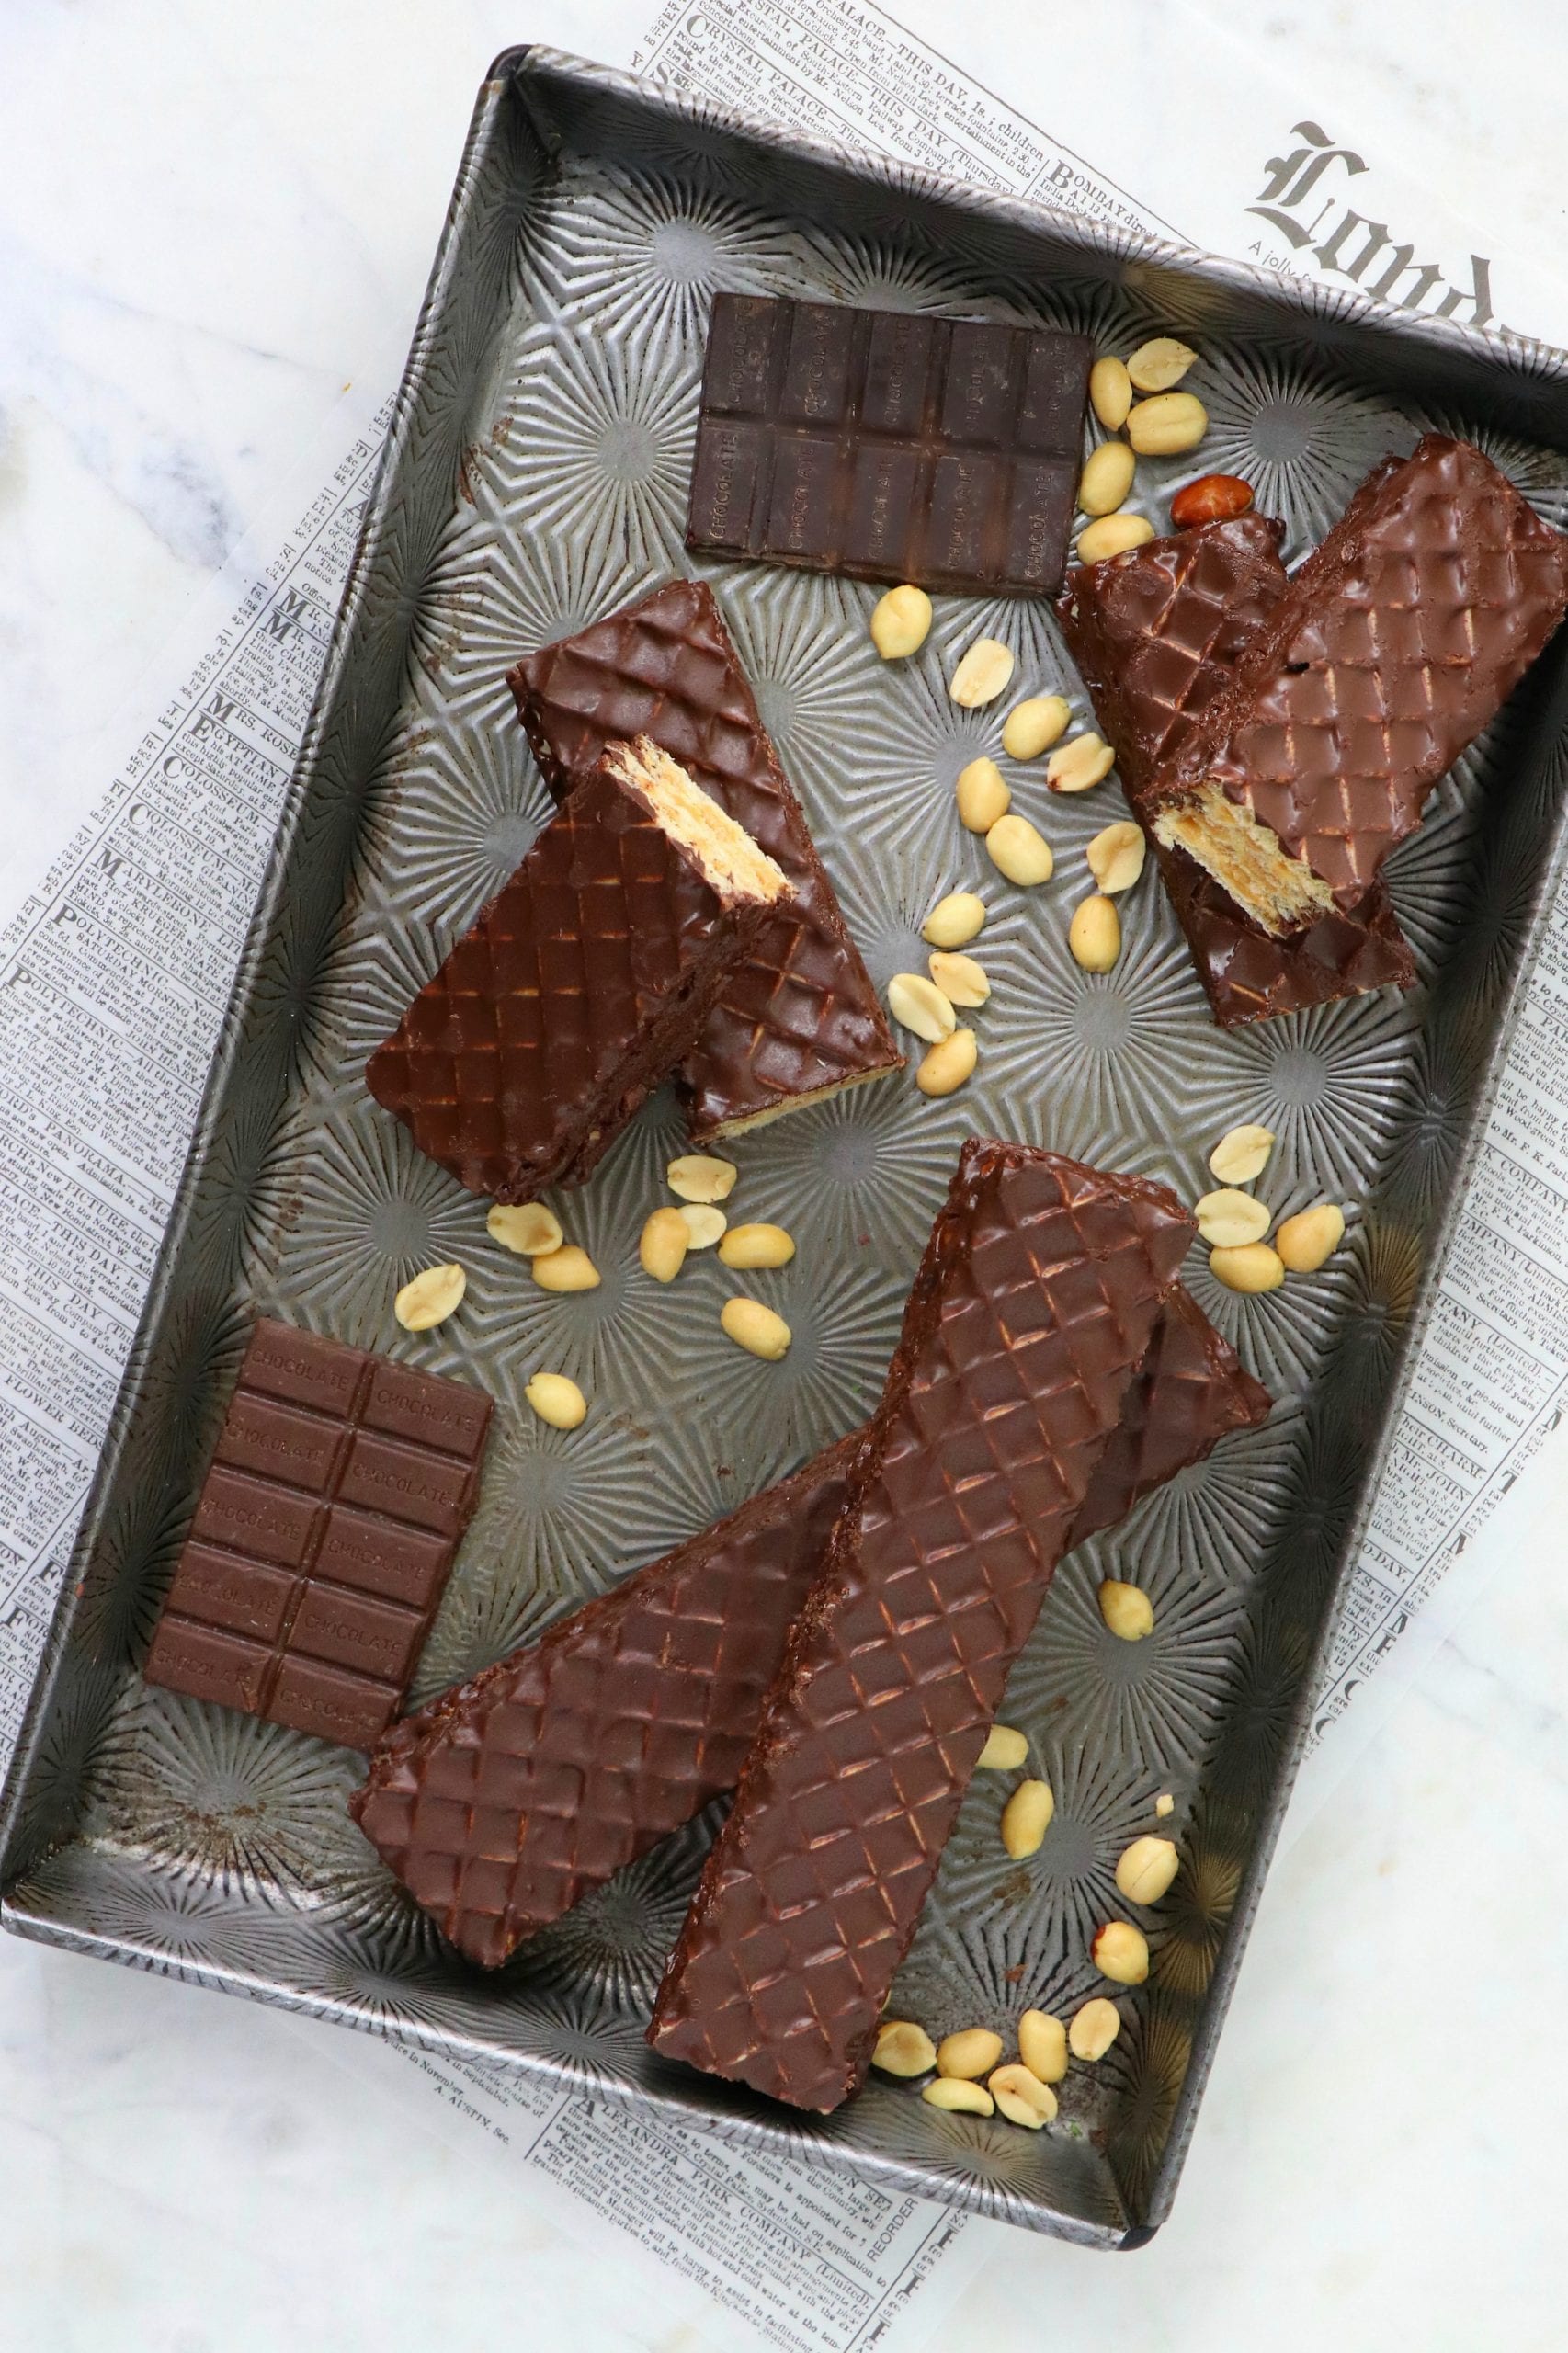
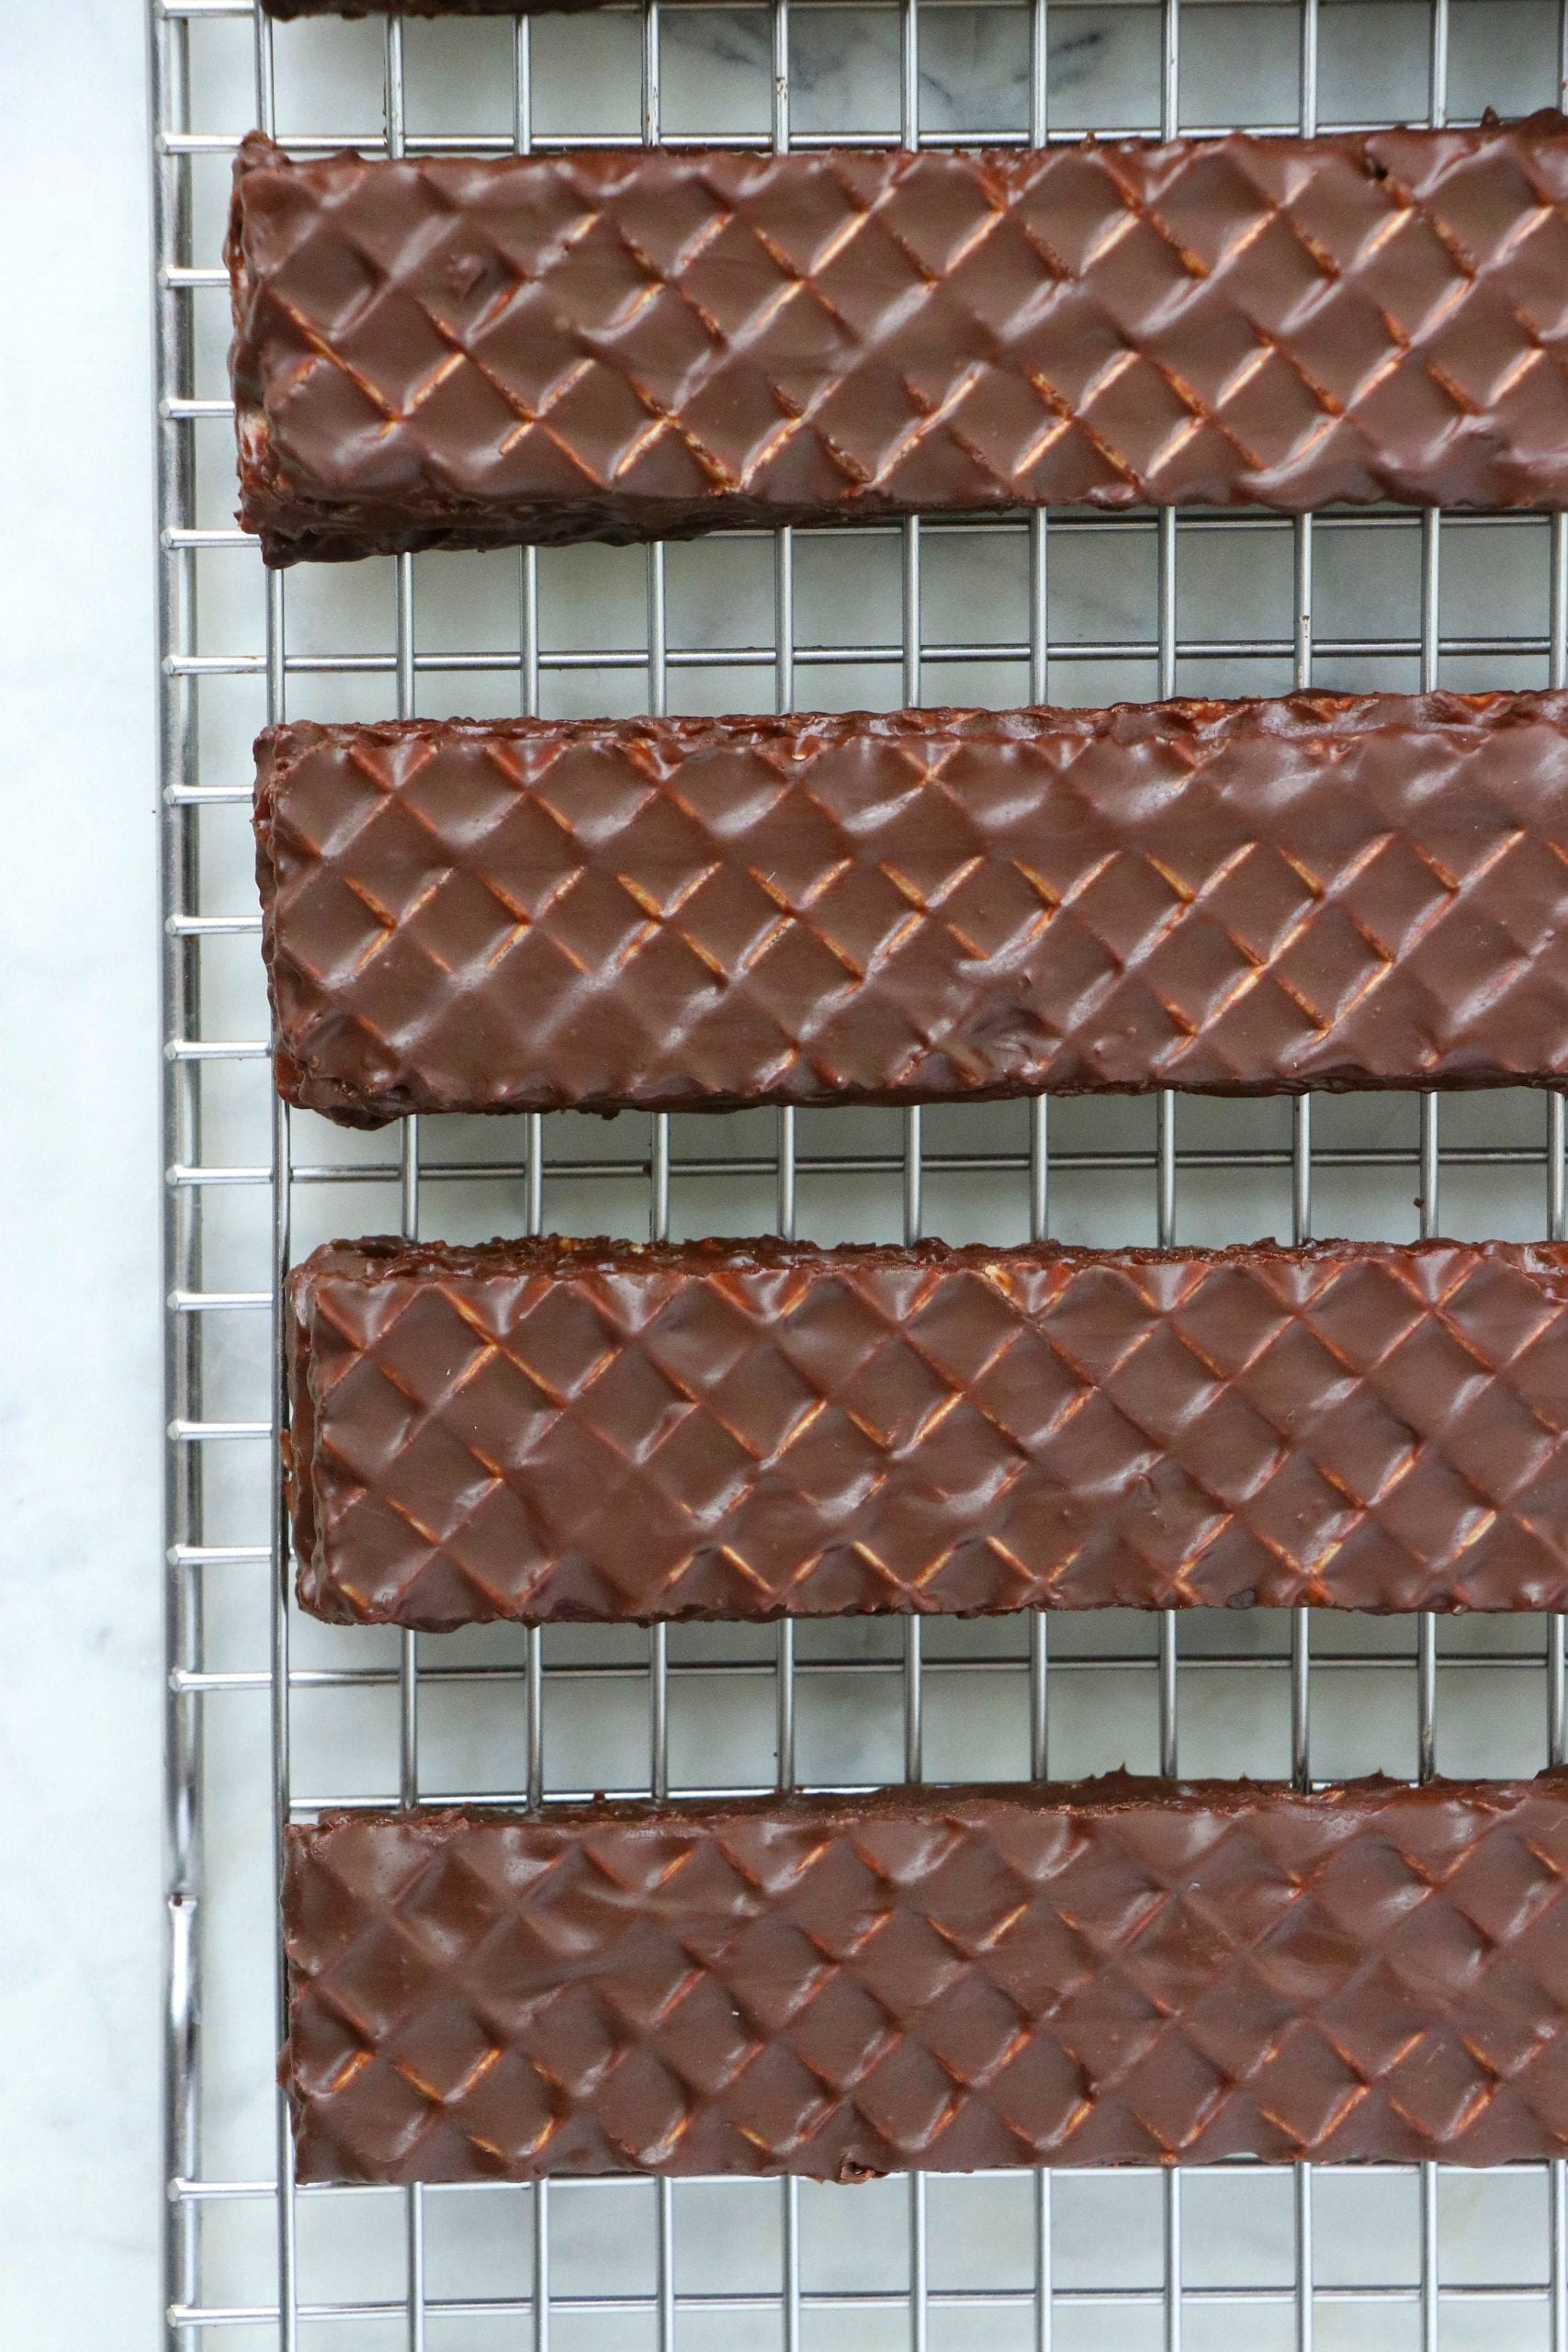
- Carefully pour or spread the melted chocolate on top and allow to the excess to drip off.
- Once fully coated cover and place in refrigerator for 20-30 mins to enable them to set. Enjoy!
- Prep Time: 15 minutes
- Cook Time: 1 minute
- Category: Cookies
- Cuisine: Dessert
Nutrition
- Serving Size: 1
Hi! Do you remember where you found the plain wafers on Amazon? I’d love to make this!
Hi Lacy! You can find the link the to the wafers in the recipe.
The link leads to wafer sheets that are NOT gluten free.
This recipe is not categorized as gluten free.
What are the nutrition facts?
thank you
Hi lizette, We don’t over nutritional values for recipes as they are typically found to be incorrect. You’re welcome to input the recipe into a program you trust.
How do you cut the wafer sheets without them breaking apart?
Thank you!
Hi Karen! You have to be very careful. Use a sharp knife and do it slowly.